Project: Modified SE2 - C20XE
Project: Modified SE2 - C20XE
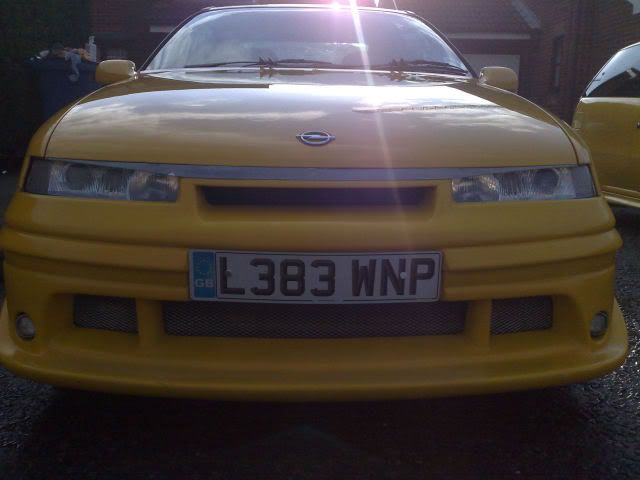
Right I am fairly more active on alot of other Calibra/Vauxhall sites, but decided to post up a project thread on here of the SE2. As you know there were only ever 431 made, and we are very lucky to own this gem. Right all the pictures and thread are a summary of when we got it, and what's been done.
A bit of history:
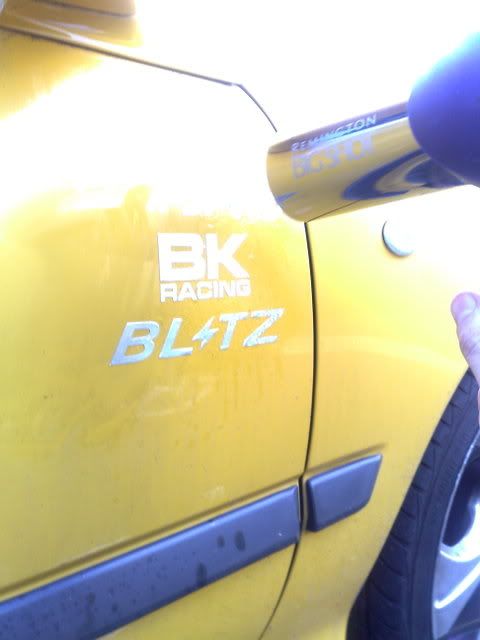
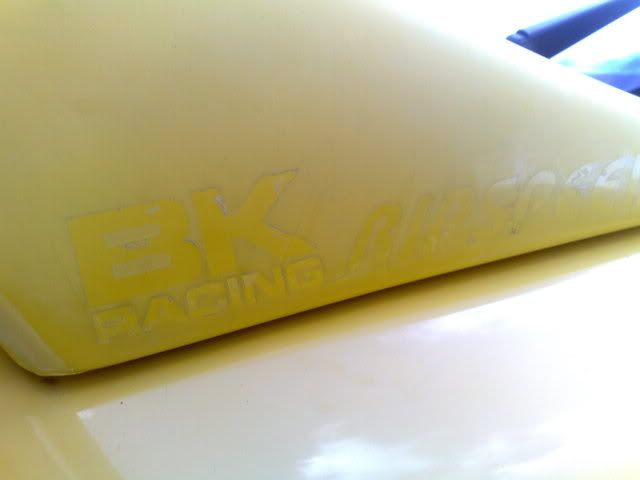
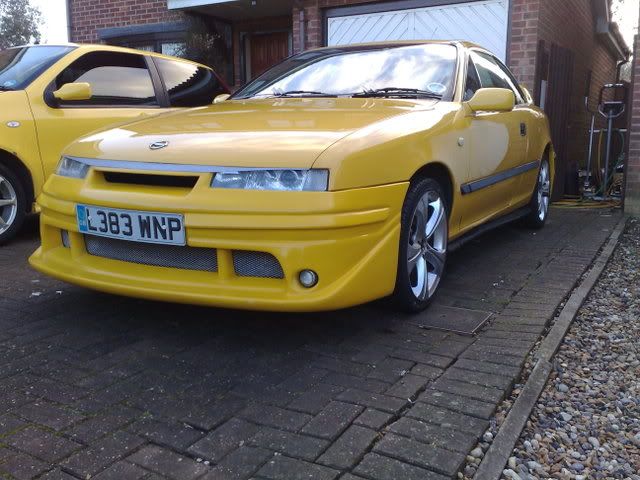
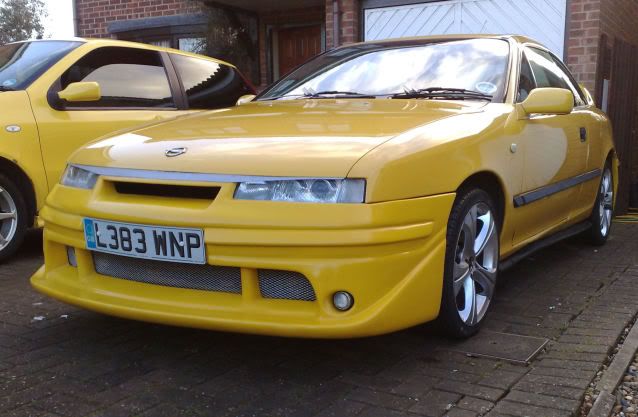
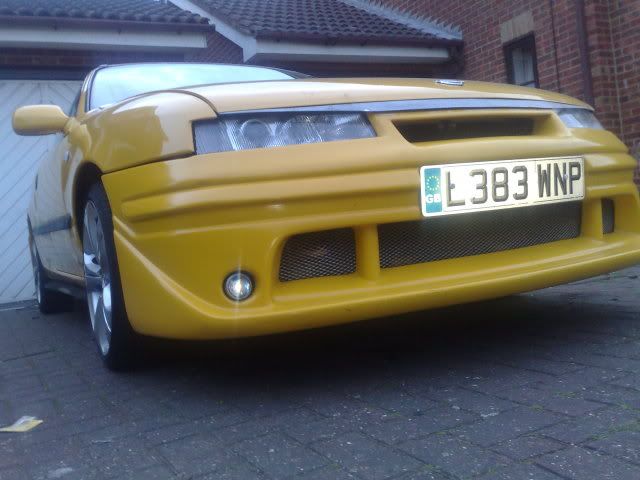
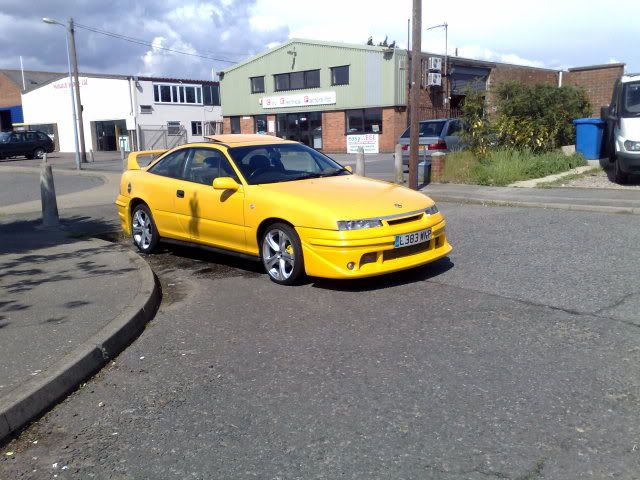
As soon as it was home on the drive, spent about 2-3 hours paint rennovating the whole thing, most of the bodywork had faded and if not some paint had oxidated especially on the spoiler. Mainly it was off with those horrid stickers, wonder-wheel cleaned the wheels, and with the plastic trims heated with a hairdryer and some back to black to give it a bit of life. It's a 93' SE2, has had a donor engine and 13 previous owners but in great nick for it's age (bodywise) and just a bit tatty inside but that will change.
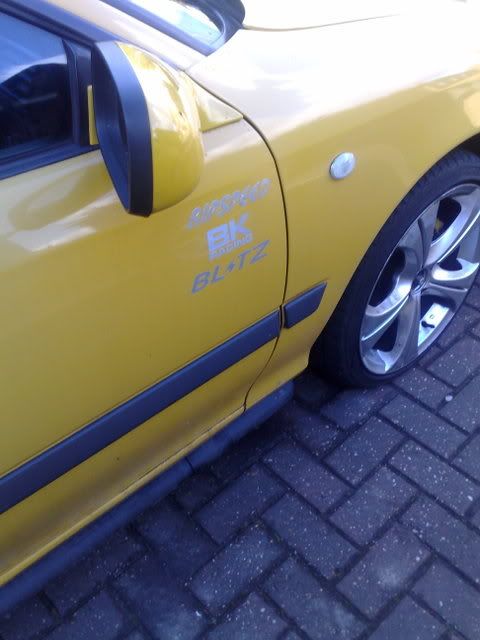
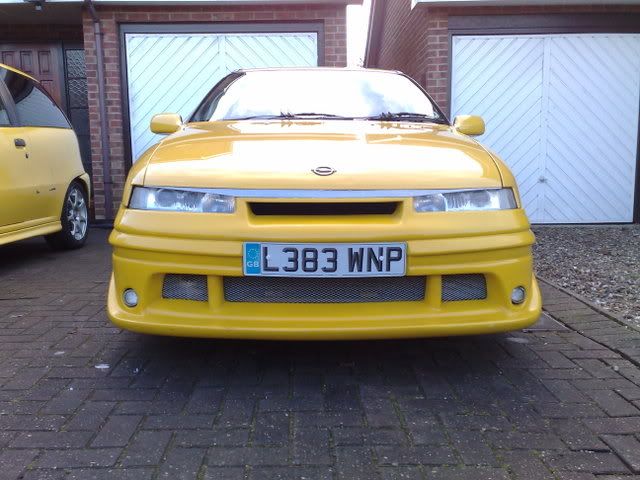
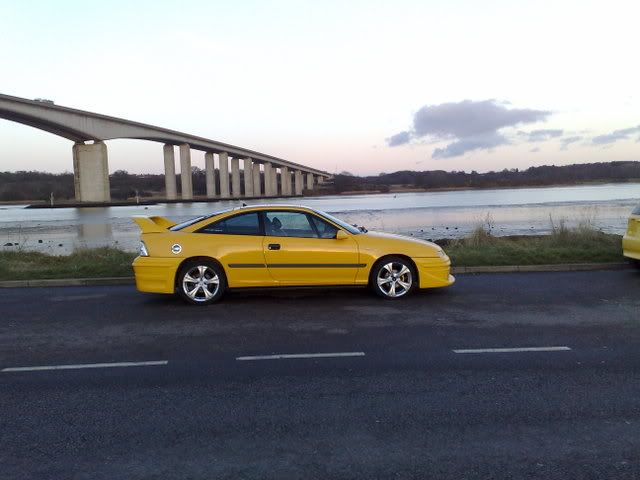
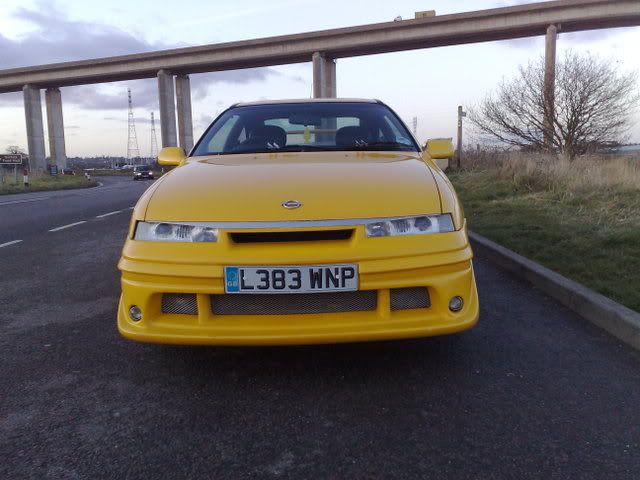
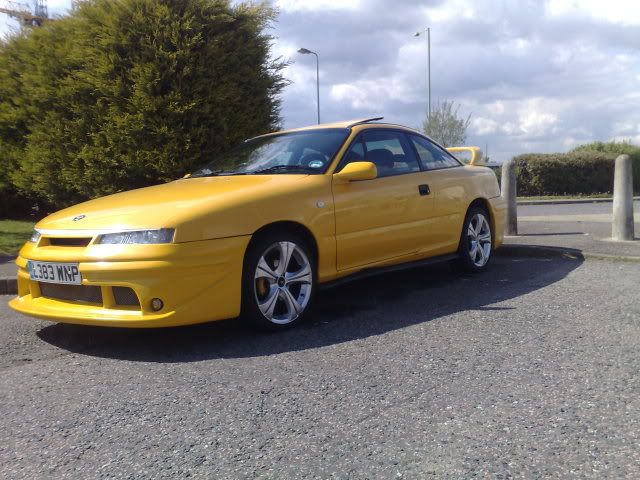
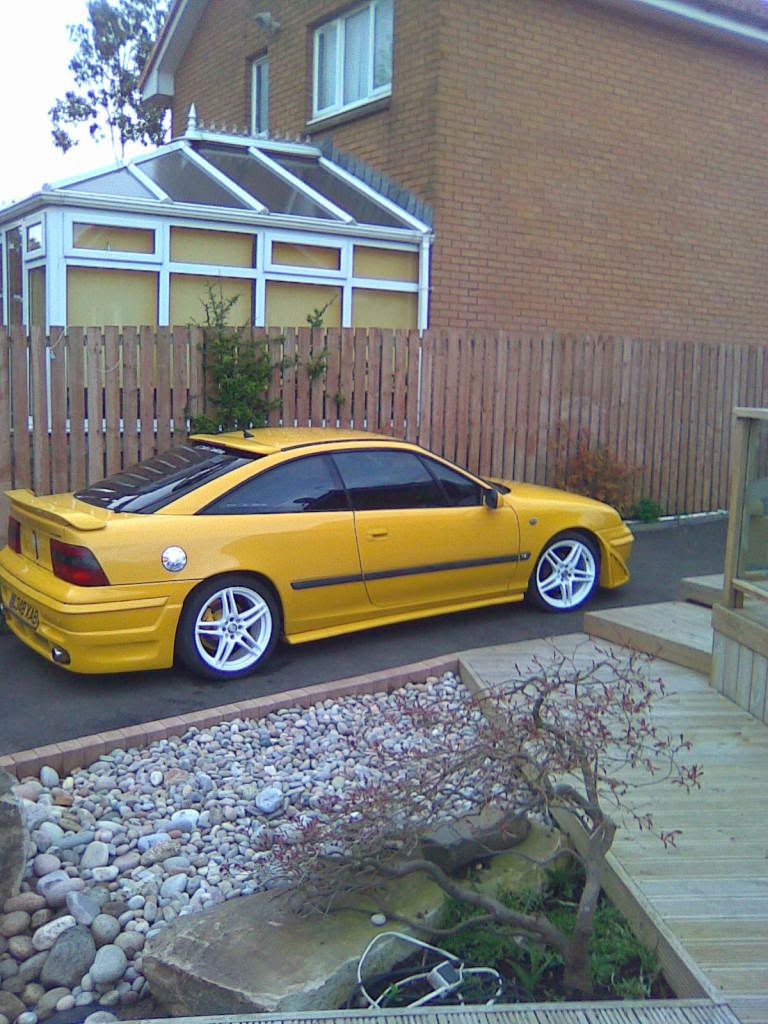
Took her for some shots (but really thinking about getting rid of rear lights, and getting skirts).
MOT failed on one side repeater bulb but I knew the retester and got it retested free, it passed.
Had a few issues with emissions first time but it was down to leaky radiator due to previous owner bodge job.
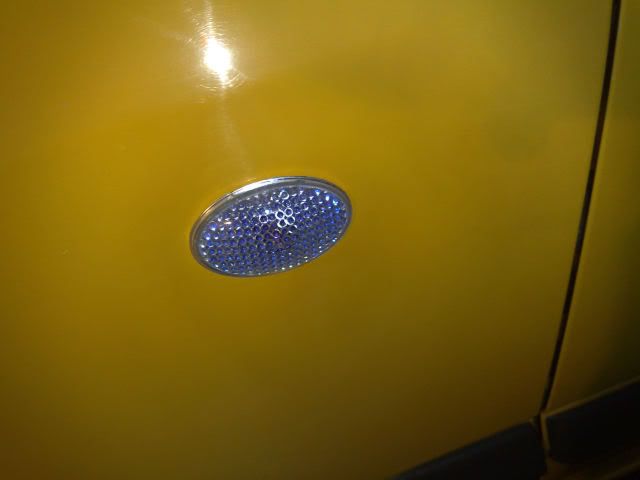
Before the MOT I discovered a leak, fixed it, washed the car and changed the side repeaters.
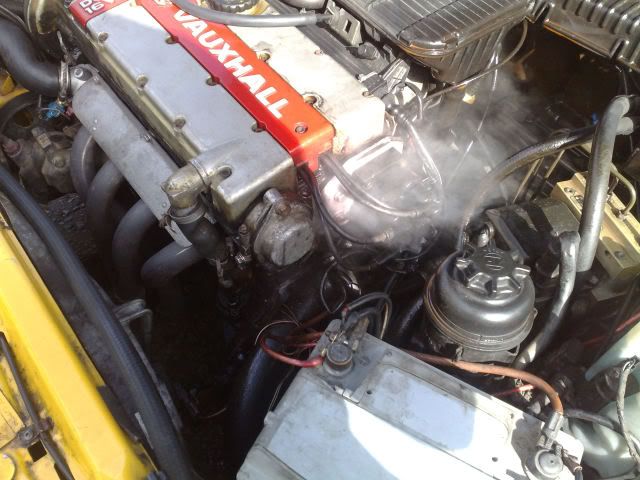
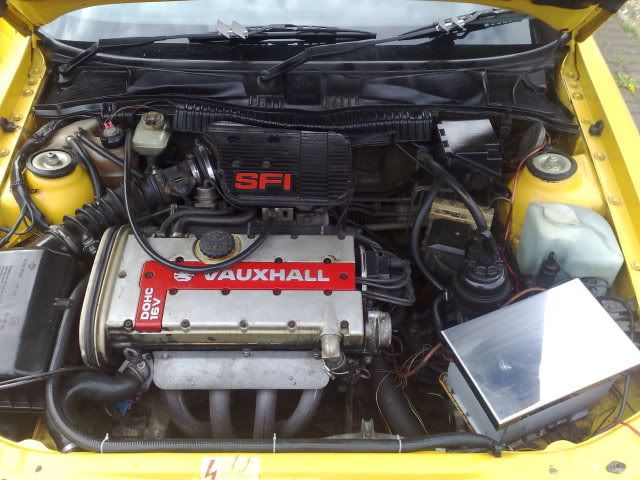
Engine bay definately needs attention next
Wrote SE2 in polish

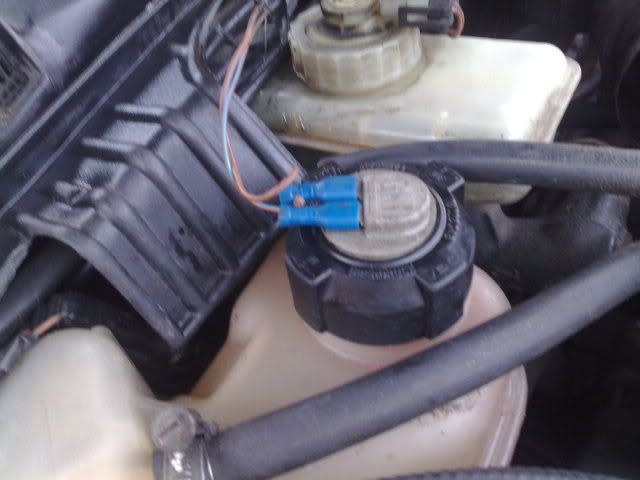
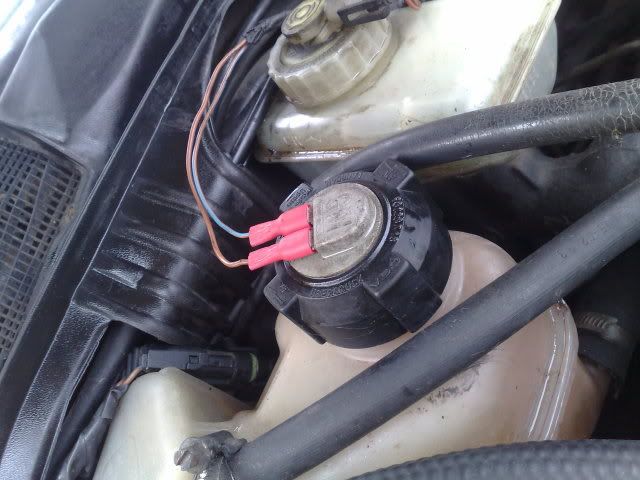
Out with old, in with new, and had to re-wire thanks to previous owners bodge again!
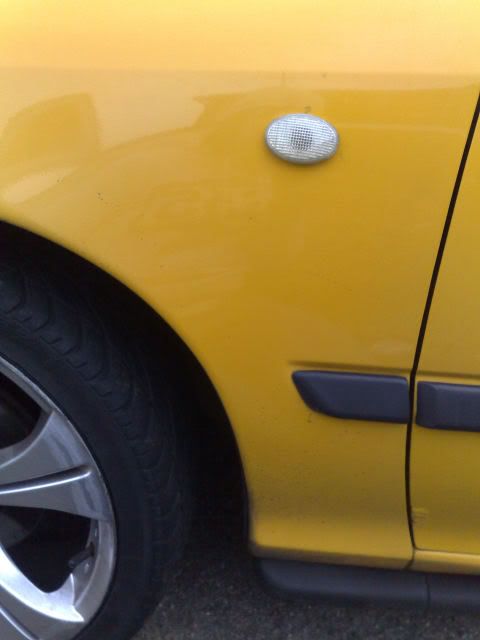
It fell back in the wing as you know and other side wasnt working because of it. After alot of patience.
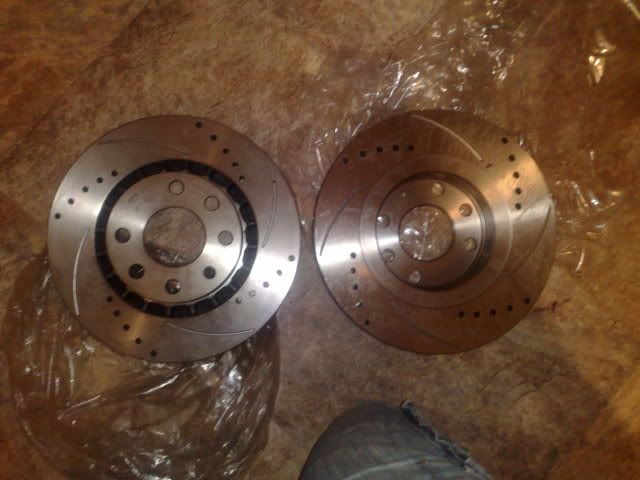
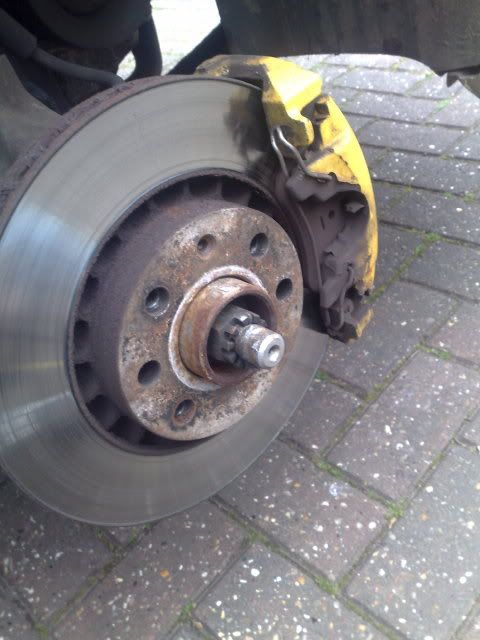
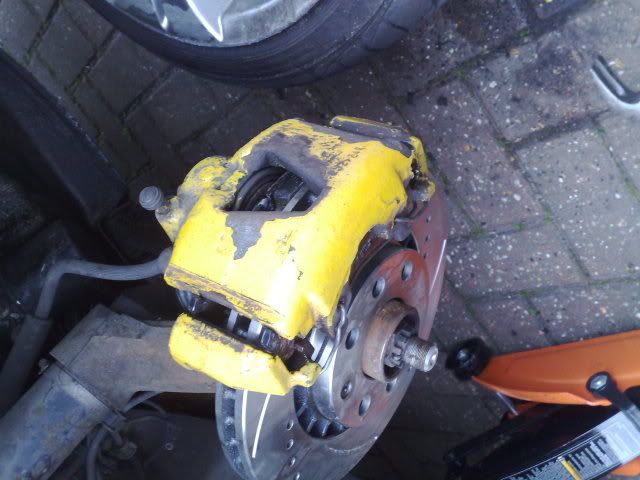
Red Dot Discs to go on, as advisory that front brakes low, so thought pads and discs change!
She sat waiting to be worked on.... and then!
Got those Red Dot grooved and drilled discs and some fresh pads on, a few weeks ago. But after all the hassle it was worth it, as the pads had worn so low I had to get spacers as the offset of the wheel seemed to be wrong, or something was wrong causing the caliper to catch on the inside of the alloy near the hub (due to new pad depth). Previous owner/s didn't fit spigot rings either so was treated to some of those. So from rusty and horrid to clean and tidy. Though the calipers need repainting due to all fitting issues I had, I put that on the backburner until it all was sorted.
Out with the old, and in with the new.
Prepped, but now finished (no pics yet though). Then I drained brake fluid and refreshed it, bled the brakes and took it for a long drive to bed everything in. I decided to clean/degrease and tidy engine bay. Bodged wiring so sorted that, and sorted the light on the dash out! Bit of rust touch up and paint touch up in the engine bay area. Tried out a battery cover but needs cleaning with Autosol. Couple of cable ties here and there to sort out wiring and coolant pipe above radiator.

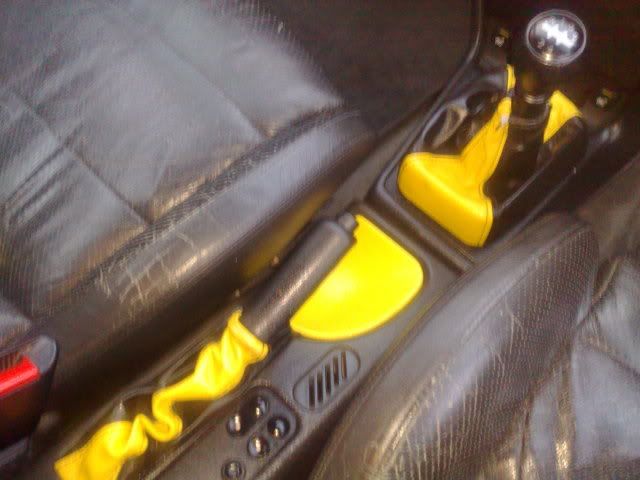
Cleaned the interior and is reminded by pictures that leather needs to be swapped over from other Calibra soon, as it's very worn in the SE2.
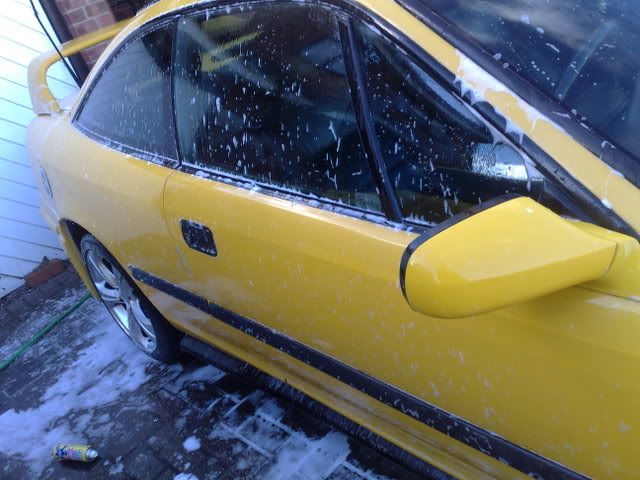
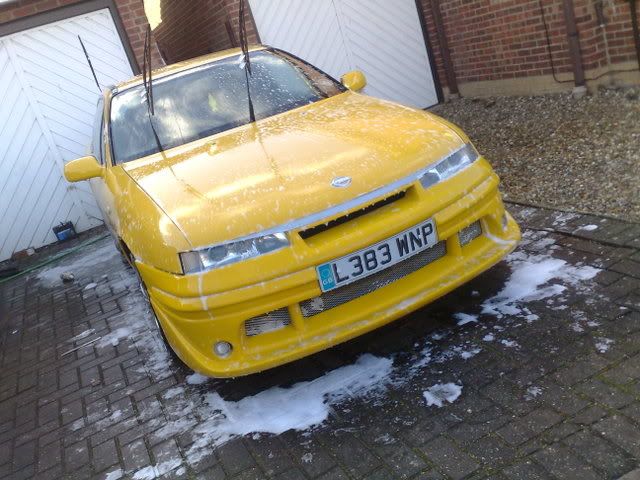
Washed, and cleaned and polished. Bonnet is wedged open on that picture.
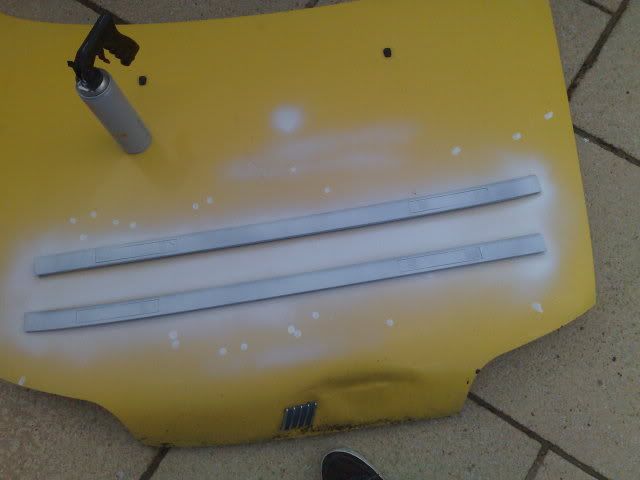
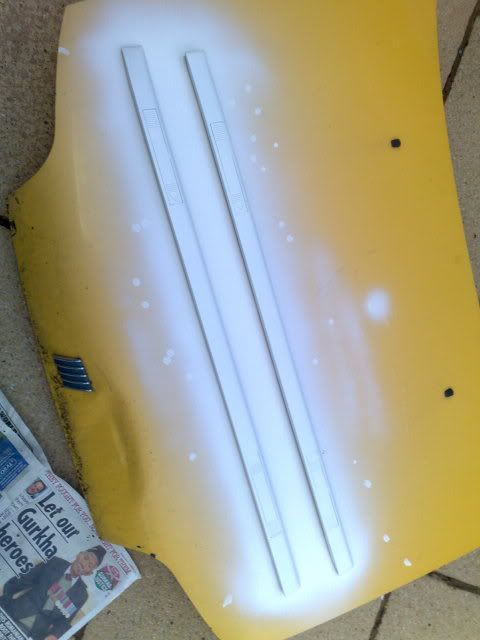
Yeseterday decided to do some of the bodywork as the weather was nice, but then ended up going to a garage as well to have quotes on perhaps a full respray, as the guy said "if you love your motor that much then regardless of what it costs you'd have it done" or something along the line, how much does it owe you? Anyway, roof rails off the other Calibra as spare have been sanded and wet and dried for about 1-2 hours to get it perfect enough and flawless for the primer, and then colour is still yet to go on those.
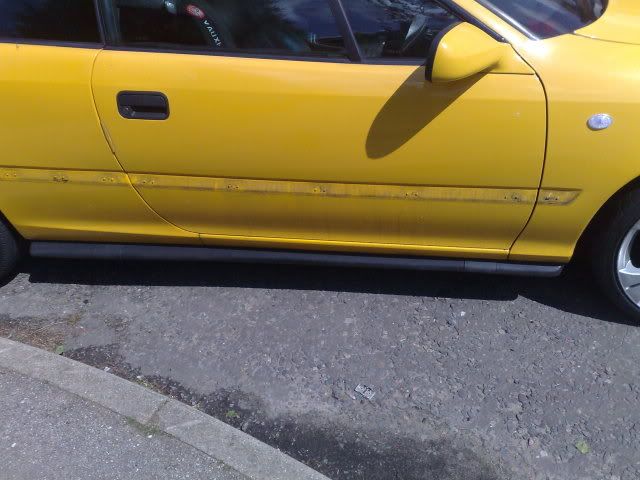
Decided to also take off the bumpstrips in the hope of spraying those, but as I know with most of you guys, you revert back to original ones as they just peel and crack due to the material. So ended up getting rid of them and going to have the metal nubs ground down so can be smoothed in.
Here's the results so far, and I have my little nifty sanding machine
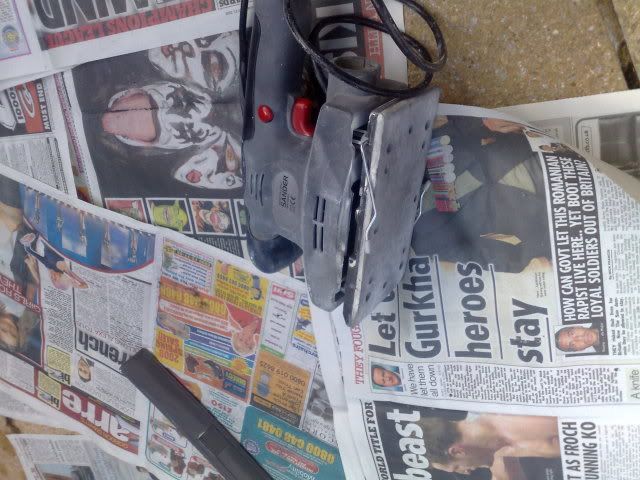
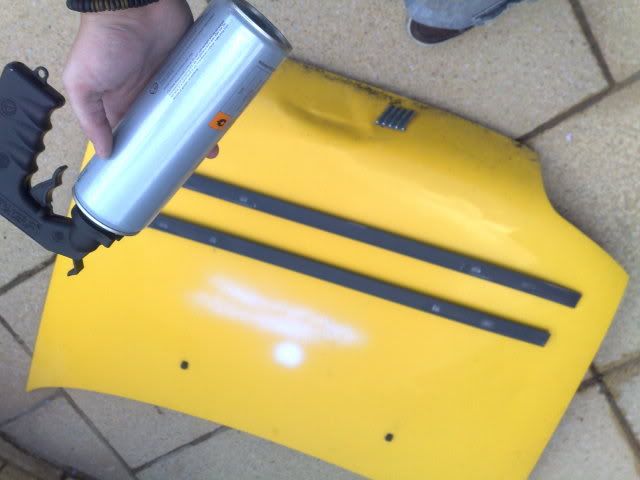
The bonnet came in handy (from my other motor) and got a spray gun attachment, cheap piece of plastic with a trigger, but definately makes a difference when spraying from spray cans. Still to go yellow yet though.
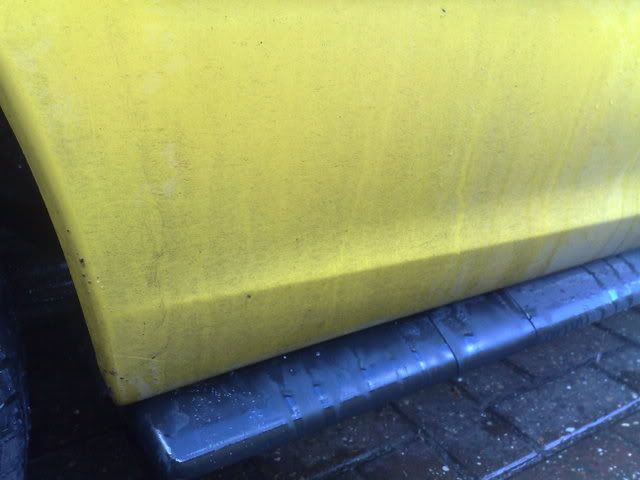
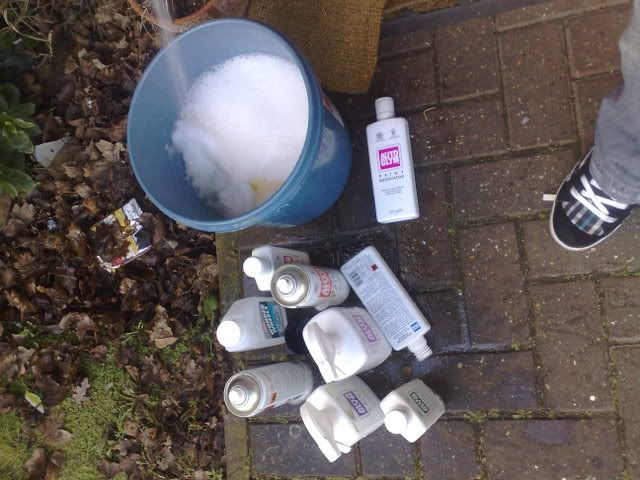
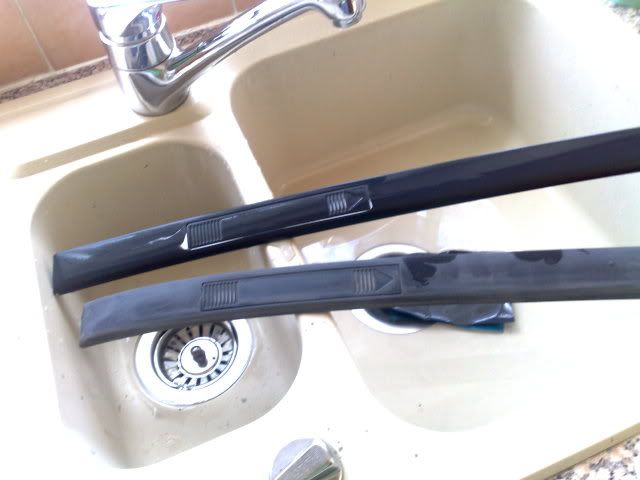
Now onto the rubstrips. Was annoyed when I took them off as was covered in muck, worse than photo's show on one side. Had to use loads of products to get it off and then remove the paint oxidation by paint renovating with AG products.
Freshly polished...
Skirts next, but first....
Plans next:
Chrome Rocker Cover or Yellow.
Along with Gasket Kit Change
Oil and Filter Renewal
Coolant Renewal
Timing Belt Kit and Tensioners
Yellow Silicone Hose Kit.
A bit of history:
As soon as it was home on the drive, spent about 2-3 hours paint rennovating the whole thing, most of the bodywork had faded and if not some paint had oxidated especially on the spoiler. Mainly it was off with those horrid stickers, wonder-wheel cleaned the wheels, and with the plastic trims heated with a hairdryer and some back to black to give it a bit of life. It's a 93' SE2, has had a donor engine and 13 previous owners but in great nick for it's age (bodywise) and just a bit tatty inside but that will change.
Took her for some shots (but really thinking about getting rid of rear lights, and getting skirts).
MOT failed on one side repeater bulb but I knew the retester and got it retested free, it passed.
Had a few issues with emissions first time but it was down to leaky radiator due to previous owner bodge job.
Before the MOT I discovered a leak, fixed it, washed the car and changed the side repeaters.
Engine bay definately needs attention next
Wrote SE2 in polish
Out with old, in with new, and had to re-wire thanks to previous owners bodge again!
It fell back in the wing as you know and other side wasnt working because of it. After alot of patience.
Red Dot Discs to go on, as advisory that front brakes low, so thought pads and discs change!
She sat waiting to be worked on.... and then!
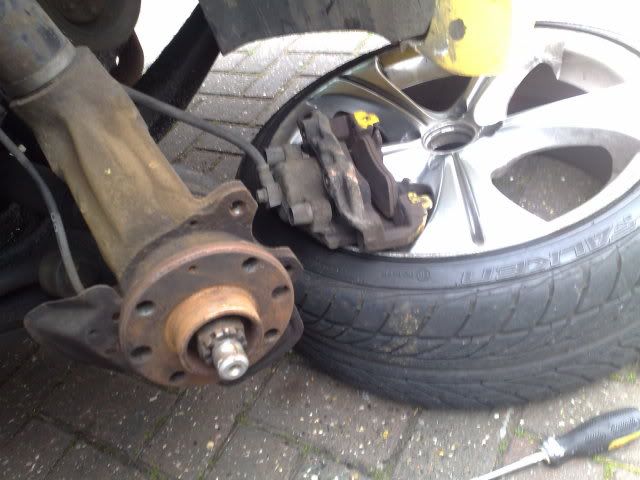
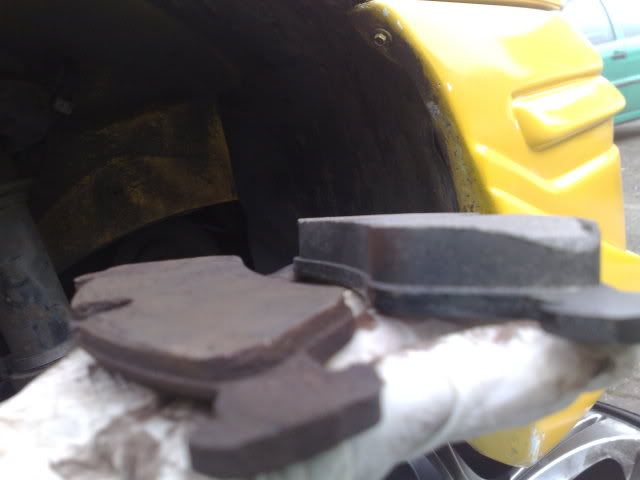
Got those Red Dot grooved and drilled discs and some fresh pads on, a few weeks ago. But after all the hassle it was worth it, as the pads had worn so low I had to get spacers as the offset of the wheel seemed to be wrong, or something was wrong causing the caliper to catch on the inside of the alloy near the hub (due to new pad depth). Previous owner/s didn't fit spigot rings either so was treated to some of those. So from rusty and horrid to clean and tidy. Though the calipers need repainting due to all fitting issues I had, I put that on the backburner until it all was sorted.
Out with the old, and in with the new.
Prepped, but now finished (no pics yet though). Then I drained brake fluid and refreshed it, bled the brakes and took it for a long drive to bed everything in. I decided to clean/degrease and tidy engine bay. Bodged wiring so sorted that, and sorted the light on the dash out! Bit of rust touch up and paint touch up in the engine bay area. Tried out a battery cover but needs cleaning with Autosol. Couple of cable ties here and there to sort out wiring and coolant pipe above radiator.
Cleaned the interior and is reminded by pictures that leather needs to be swapped over from other Calibra soon, as it's very worn in the SE2.
Washed, and cleaned and polished. Bonnet is wedged open on that picture.
Yeseterday decided to do some of the bodywork as the weather was nice, but then ended up going to a garage as well to have quotes on perhaps a full respray, as the guy said "if you love your motor that much then regardless of what it costs you'd have it done" or something along the line, how much does it owe you? Anyway, roof rails off the other Calibra as spare have been sanded and wet and dried for about 1-2 hours to get it perfect enough and flawless for the primer, and then colour is still yet to go on those.
Decided to also take off the bumpstrips in the hope of spraying those, but as I know with most of you guys, you revert back to original ones as they just peel and crack due to the material. So ended up getting rid of them and going to have the metal nubs ground down so can be smoothed in.
Here's the results so far, and I have my little nifty sanding machine
The bonnet came in handy (from my other motor) and got a spray gun attachment, cheap piece of plastic with a trigger, but definately makes a difference when spraying from spray cans. Still to go yellow yet though.
Now onto the rubstrips. Was annoyed when I took them off as was covered in muck, worse than photo's show on one side. Had to use loads of products to get it off and then remove the paint oxidation by paint renovating with AG products.
Freshly polished...
Skirts next, but first....
Plans next:
Chrome Rocker Cover or Yellow.
Along with Gasket Kit Change
Oil and Filter Renewal
Coolant Renewal
Timing Belt Kit and Tensioners
Yellow Silicone Hose Kit.
-
VII CKS
Re: Project: Modified SE2 - C20XE
Great car profile VII CKS 
- ClubCalibra.net

- Posts: 2357
- Joined: Sun Jan 11, 2004 1:00 pm
Re: Project: Modified SE2 - C20XE
Thankyou, you've probably seen it over on .com.
I am hopefully writing it up differently, and will take alot more pictures and same pictures on all sites I'm on but will occasionally throw in one or two extra's!
I am hopefully writing it up differently, and will take alot more pictures and same pictures on all sites I'm on but will occasionally throw in one or two extra's!
-
VII CKS
Re: Project: Modified SE2 - C20XE
Looks nice.
Mark...........It's Red........It's a V6............It's an SE9!..............and She's bad.
Mark1@clubcalibra.net
ClubCalibra Best Presented 2006
ClubCalibra Best Presented 2010
ClubCalibra Best Interior 2011
My Garage
Mark1@clubcalibra.net
ClubCalibra Best Presented 2006
ClubCalibra Best Presented 2010
ClubCalibra Best Interior 2011
My Garage
-

- Gold Member

- Posts: 3136
- Joined: Sat Jan 10, 2004 1:00 pm
- Location: Surrey, England
Re: Project: Modified SE2 - C20XE
me likey that viks  but im with you lights need to go in the bin and skirts need fitting oh and one more thing that table on the back makes the cally look tacky
-
vinny_69
Re: Project: Modified SE2 - C20XE
Yeah the lights have to go, was thinking after burners or standard tinted lights, and definately some skirts are needed to finish it off, I don't know why when the other kit was put on skirts weren't put on to match, it doesn't look like the finished product.
Evo spoiler is staying though, it goes with the kit, and isn't as hideous as some I've seen out there. If we can find something a little more subtle we may go with it, possibly one with a brake light incorporated into it.
Cheers for all your comments.
Evo spoiler is staying though, it goes with the kit, and isn't as hideous as some I've seen out there. If we can find something a little more subtle we may go with it, possibly one with a brake light incorporated into it.
Cheers for all your comments.
-
VII CKS
Re: Project: Modified SE2 - C20XE
very nice write up, and a nice looking SE2
I miss mine but do get to see it every week
I miss mine
-

- ClubCalibra.net

- Posts: 3621
- Joined: Sat Dec 06, 2003 1:00 pm
- Location: Rosyth Scotland
Re: Project: Modified SE2 - C20XE
nice car are you going to any off the shows this year would be good to get the two se2 together for some pics
steve
Chairman
The Drain
LE 4x4 turbo
SE2 4x4 turbo RIP
Chairman
The Drain
LE 4x4 turbo
SE2 4x4 turbo RIP
-

- ClubCalibra.net

- Posts: 7178
- Joined: Wed Jan 03, 2007 6:58 pm
- Location: lanarkshire
Re: Project: Modified SE2 - C20XE
Fraz wrote:very nice write up, and a nice looking SE2
I miss mine
Thanks Fraz.
What happened to your SE2 then?
Is the member still on here or .com? Or a local friend?
I could do with the details actually for the SE2 register.
-
VII CKS
Re: Project: Modified SE2 - C20XE
Steve, I know you are far away, but not this year. Only meets we are going to are the one that I arranged in Essex on 31st May, which is East of England, I think we got a few members coming from here and about 12 from on .com.
We are hoping to have the car ready for other Vaux meets next year and Calibra meets. Or later on this year, basically doing alot to the engine now.
We are hoping to have the car ready for other Vaux meets next year and Calibra meets. Or later on this year, basically doing alot to the engine now.
-
VII CKS
Re: Project: Modified SE2 - C20XE
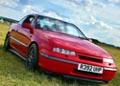
em that will be a pic of it above ur last post 
BETTER TO HAVE A CALIBRA AND NOT NEED ONE, THAN NEED A CALIBRA AND NOT HAVE ONE!!!
BEST STANDARD BILLING 2009 CO-OWNER
BEST STANDARD BILLING 2011 CO-OWNER
BEST PRESENTED BILLING 2012
BEST ENGINE BAY BILLING 2015
Chairmans Choice - Scottish Car Show 2016
BEST INTERIOR VBOA 2017
BEST IN SHOW VBOA 2018
VBOA CHAIRMAN CUP 2018
BEST STANDARD BILLING 2009 CO-OWNER
BEST STANDARD BILLING 2011 CO-OWNER
BEST PRESENTED BILLING 2012
BEST ENGINE BAY BILLING 2015
Chairmans Choice - Scottish Car Show 2016
BEST INTERIOR VBOA 2017
BEST IN SHOW VBOA 2018
VBOA CHAIRMAN CUP 2018
-
- Gold Member
- Posts: 3285
- Joined: Tue May 15, 2007 7:30 pm
- Location: east ayrshire, scotland
Re: Project: Modified SE2 - C20XE
VII CKS wrote:Fraz wrote:very nice write up, and a nice looking SE2
I miss mine
Thanks Fraz.
What happened to your SE2 then?
Is the member still on here or .com? Or a local friend?
I could do with the details actually for the SE2 register.
ive got it lol (well jill has)
steve
Chairman
The Drain
LE 4x4 turbo
SE2 4x4 turbo RIP
Chairman
The Drain
LE 4x4 turbo
SE2 4x4 turbo RIP
-
- ClubCalibra.net
- Posts: 7178
- Joined: Wed Jan 03, 2007 6:58 pm
- Location: lanarkshire
Re: Project: Modified SE2 - C20XE
i also built this for it

steve
Chairman
The Drain
LE 4x4 turbo
SE2 4x4 turbo RIP
Chairman
The Drain
LE 4x4 turbo
SE2 4x4 turbo RIP
-
- ClubCalibra.net
- Posts: 7178
- Joined: Wed Jan 03, 2007 6:58 pm
- Location: lanarkshire
Re: Project: Modified SE2 - C20XE
That half SE2 (well probably not just a trailer and made like it) is awesome. Do you have anymore pics?
Just curious to what door handles you got on the SE2 as they're colour coded, are they Veccy ones?
Just curious to what door handles you got on the SE2 as they're colour coded, are they Veccy ones?
-
VII CKS
Who is online
Users browsing this forum: Bing [Bot] and 11 guests